


The Bionic Swede is a must-know for players that are into high-risk & high-reward plays.
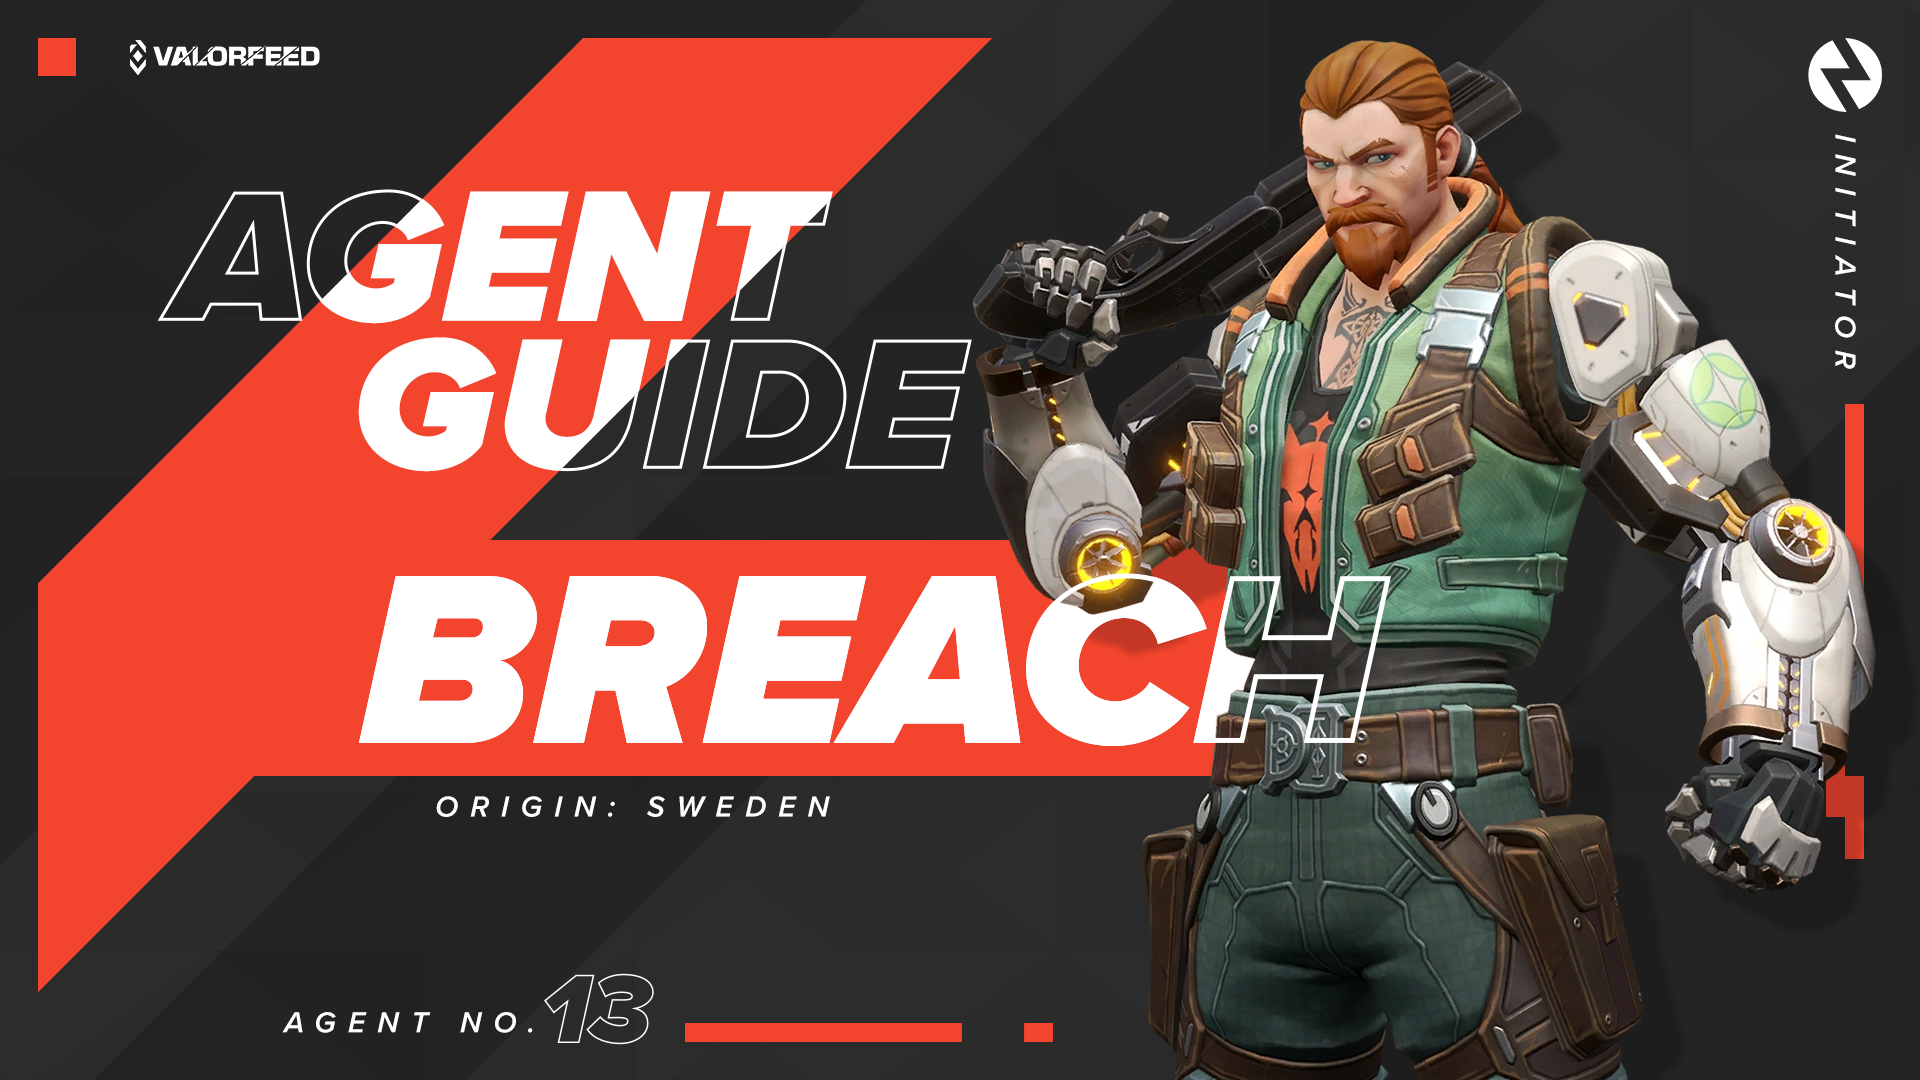
Breachy can be a vibe for everyone that loves being aggressive and playing "in their face" while defending and attacking. His utility kit enables him to have zero cares when rushing the enemy, and that's what we will be explaining next.
Breach Abilities Explained
Erik is one of the least boring Agents, primarily due to his abilities. This Agent can be a good fit for your agent pool if you're into clearing the path ahead for your teammates or being an unbreakable defensive line while holding sites.
C Ability: Aftershock (Cost: 200 Credits)
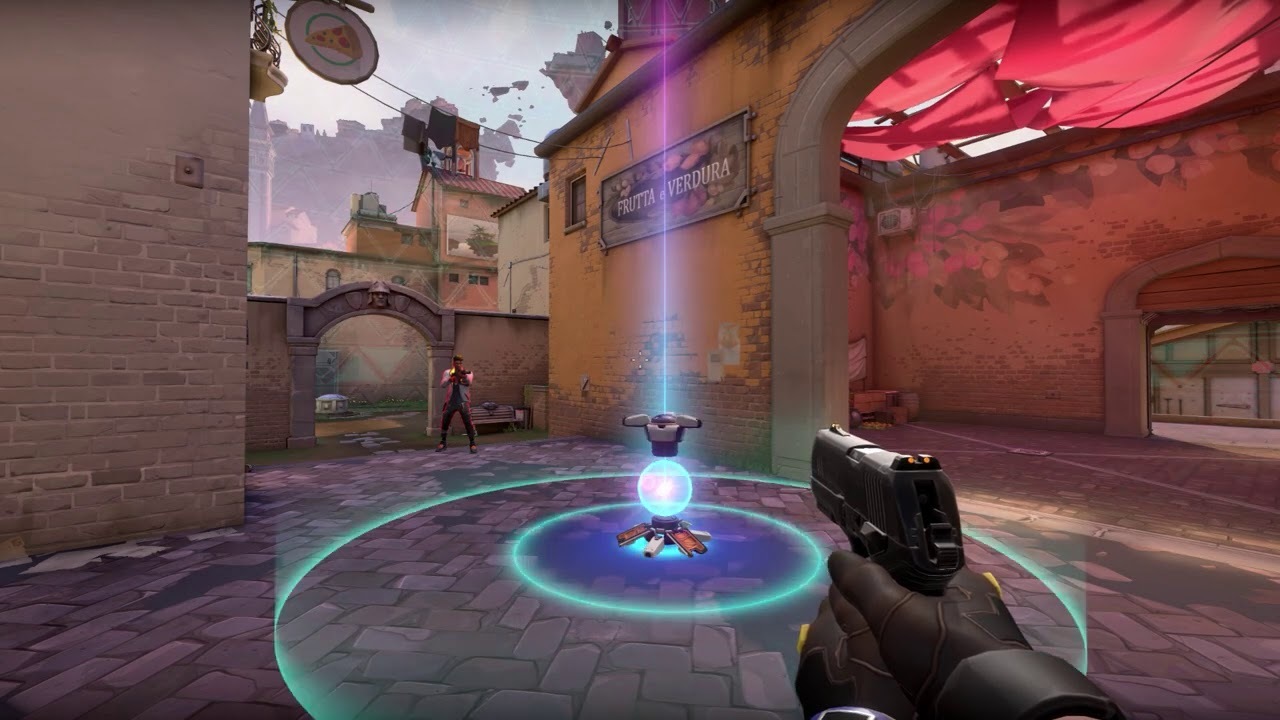
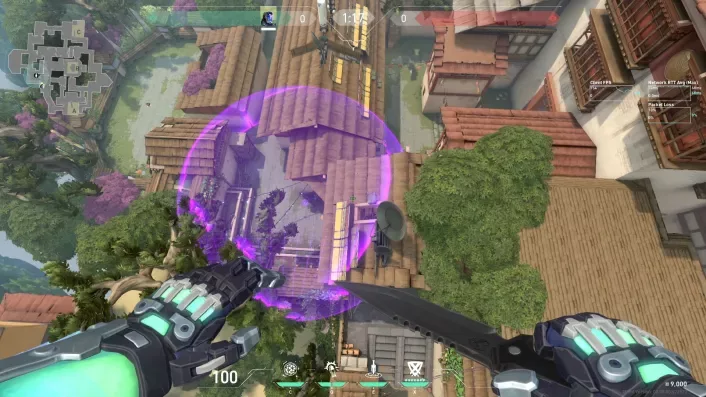
His first ability is a fusion charge that does burst damage through an obstacle, usually a wall. It lasts for 2.2 seconds and has 3 ticks, each dealing 60 damage. This is an amazing ability to have if you're playing against players that love to camp. Make sure to always use this on positions the enemy is usually camping at.
Aftershock has to be used behind an obstacle and does damage to the front side of that said obstacle. This makes it a very "hard to land" ability, but same as the hero concept everything difficult about Breach usually comes with a hefty prize. Each map has entrances that are very tough to breach. The reasoning behind this is that the defenders have multiple defensive positions to take, and you as an attacker need to give attention to all of them.
In case you're curious, check the gallery below to find out if Breach is one of the least picked Agents in Valorant.
This ability has a very good impact in these situations as you can use it to cover an angle and focus your attention on the other positions giving you an easier job while doing the entry pushes. More on this later on in this article.
Q Ability: Flashpoint (Cost: 250 Credits; 2 Charges)
His second ability works in a similar way as Aftershock. Flashpoint as the name suggests is a flash that also needs to be used behind an obstacle and flashes everything on the other side of that given obstacle. Once used it has a 0.5 seconds preparation time, and upon detonating bursts through that wall flashing everyone facing it for 2 seconds.
Same as Aftershock this is a super useful ability both on the offensive and defensive and is a must-have on every line-up. It can serve the same purpose as Aftershock and can be combined with it. The general idea is to have both charges when possible, but you should always keep in mind its cost as each charge is 250 Credits.
When you are able to buy both of the charges, it's ideal to use one when entrying and save the other for when the flankers/other defenders come to retake the site.
Signature Ability: Fault Line
As his signature, we have a "Fault Line". Compared to the other 2 abilities that we already explained, this one doesn't need a wall in order to be used. Its use is quite simple, once equipped you can choose the "Hold Fire" and depending on the "holding" amount the Line will be longer or shorter.
So to make it simple, you click E which will equip the ability, and afterward, you have to hold the Fire hotkey to prep the ability. Once you release the "Fire" hotkey a straight line will be unleashed dazing all of the players caught in it.
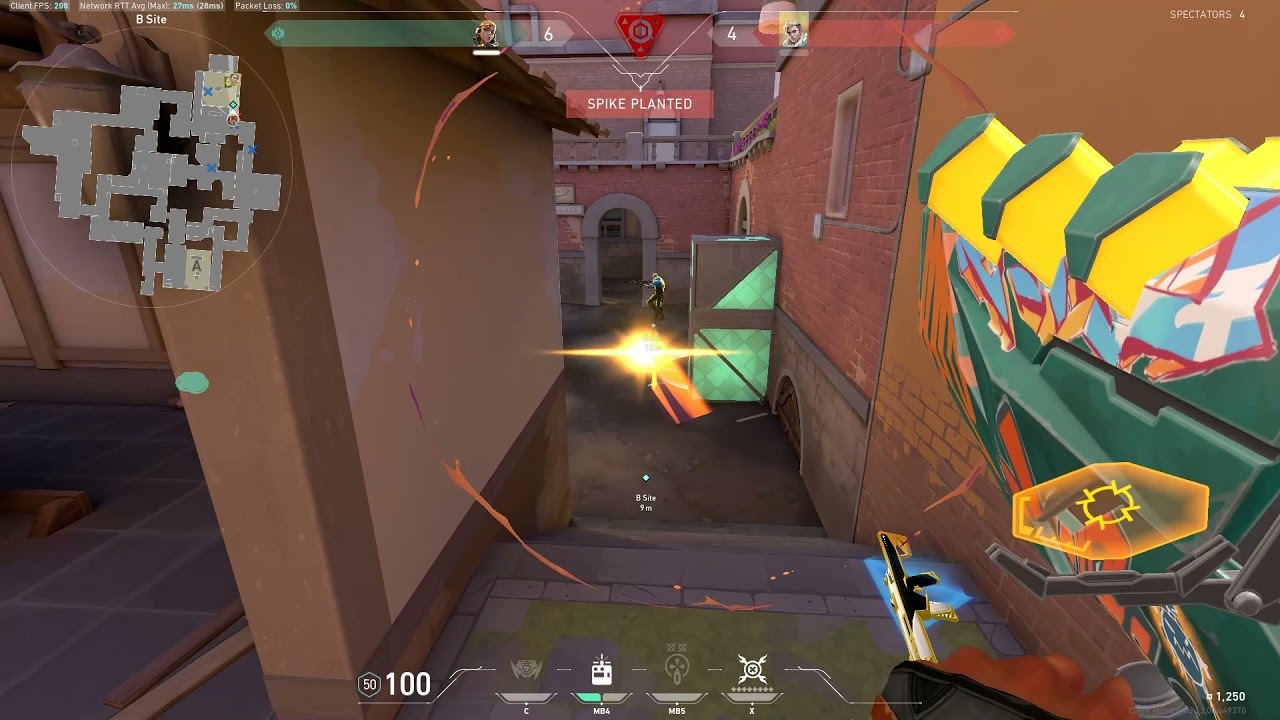
It detonates 1 second after you release the "Fire" hotkey, and will concuss the players for 3.5 seconds. It has a 40-second cooldown once used, and can ideally be used 2 times in 1 round if used wisely. It can have multiple purposes but noticing how pro players play Breach, they usually love to start on the defense with it especially if they hear any noise coming from a certain entrance.
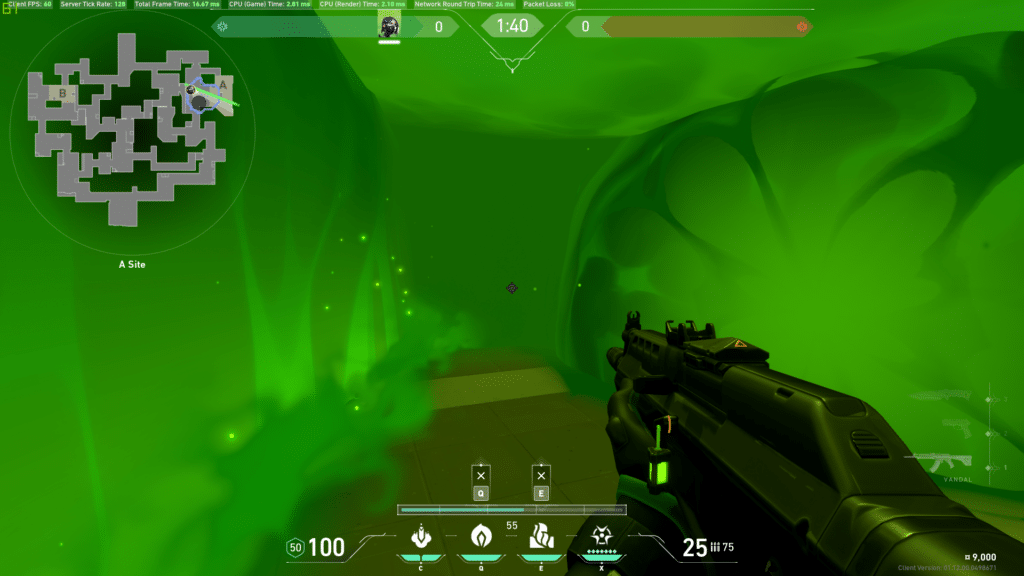
Ultimate (X) Ability: Rolling Thunder (8 Ultimate Points)
Rolling Thunder works in a similar fashion as Fade's "Nightfall". It has a similar effect as his signature ability but is much easier to use and covers up more ground. Valorant describes this ability as a cascading quake that has a 1.2 seconds preparation time, is 7 meters long, and will concuss and knock up enemies for 6 seconds.
Regardless of the distance between you and the enemy agents that will get caught, 6 seconds is more than enough to reach them and take them down. It's a marvelous ability for taking and retaking sites and its high cost is justified.
The latest update nerfed the ability a bit by increasing the UP cost by 1 point, and there's a common misconception that it "feels like it's a lot".
Below you can check the Top-Tier ultimates of Valorant, Rolling Thunder might be there...
How To Attack With Breach
Breachy is a mastermind on the offensive and usually dictates the tempo of the sieges. All of his abilities are a key product that every attacking side wants to have, and using it wisely is something Breach mains learned to master first. Timing and Positioning are your best friends and you should "abuse" them as much as you can.
Breach Goes SKRRRRR pic.twitter.com/m7d4Zvydsb
— Eisa (@Izisaaf) January 17, 2023
Every ability gives you an "x" amount of seconds which results in a window that you need to take advantage of to either progress the entry or get in a better position. As an example, your flash is your go-to tool for engaging enemies. The 2-second window that the ability provides gives you and your team 2 seconds of "free movement" to engage or to reposition. The same goes for the other abilities, with the difference that your Ultimate's concuss lasts 6 seconds and your Signature lasts 3.5.
How To Defend With Breach
On the defense, you want to be as static as possible and hold your ground for as long as you can. The ideal positioning for Breach is to be on the most vulnerable entries and try to intercept the oncoming push and use any combination of abilities to buy time for your allies to come to your aid. What Breach Mains usually do is prepare their Signature from the get-go, and release it once they get any information about the enemies.
Crazy Breach Astra combo! #valorant
— Hyper (@hyperpsykick) January 17, 2023
They stood no chance pic.twitter.com/a2JCZ4u9ZZ
The Initiator role is a super important role that has a lot of duties and responsibilities in the game. You are a key factor when defending sites, and critical for retaking the lost sites. The best advice that pros give concerning Breach is to never hesitate and always trust your instinct when using your abilities.
The Best Maps For Breach
We've reached the last chapter of this guide, and this one will help you in your decision-making process of when to pick Breach. We will cut it short from the get-go and tell you when NOT to pick Breach, and that is Ascent and Icebox. Since we've learned how the abilities works and the need for an obstacle/wall is a critical factor when using his abilities, it's pretty logical to know that these maps are a No-No.
:D#VALORANT #breach pic.twitter.com/hPFL8tI5dm
— m1skiboy (@m1skiboy) January 16, 2023
Based on analysis and feedback from people with thousands of "Breach" hours, Fracture is the most enjoyable and rewarding map for Breach. Tons of walls mean tons of possibilities to daze or flash the opponent and quickly take them down. A-rope is where you want to be positioning yourself the most when defending solely due to the fact that you won't rely on information from your teammates, but rather hear the opponents yourself when engaging.
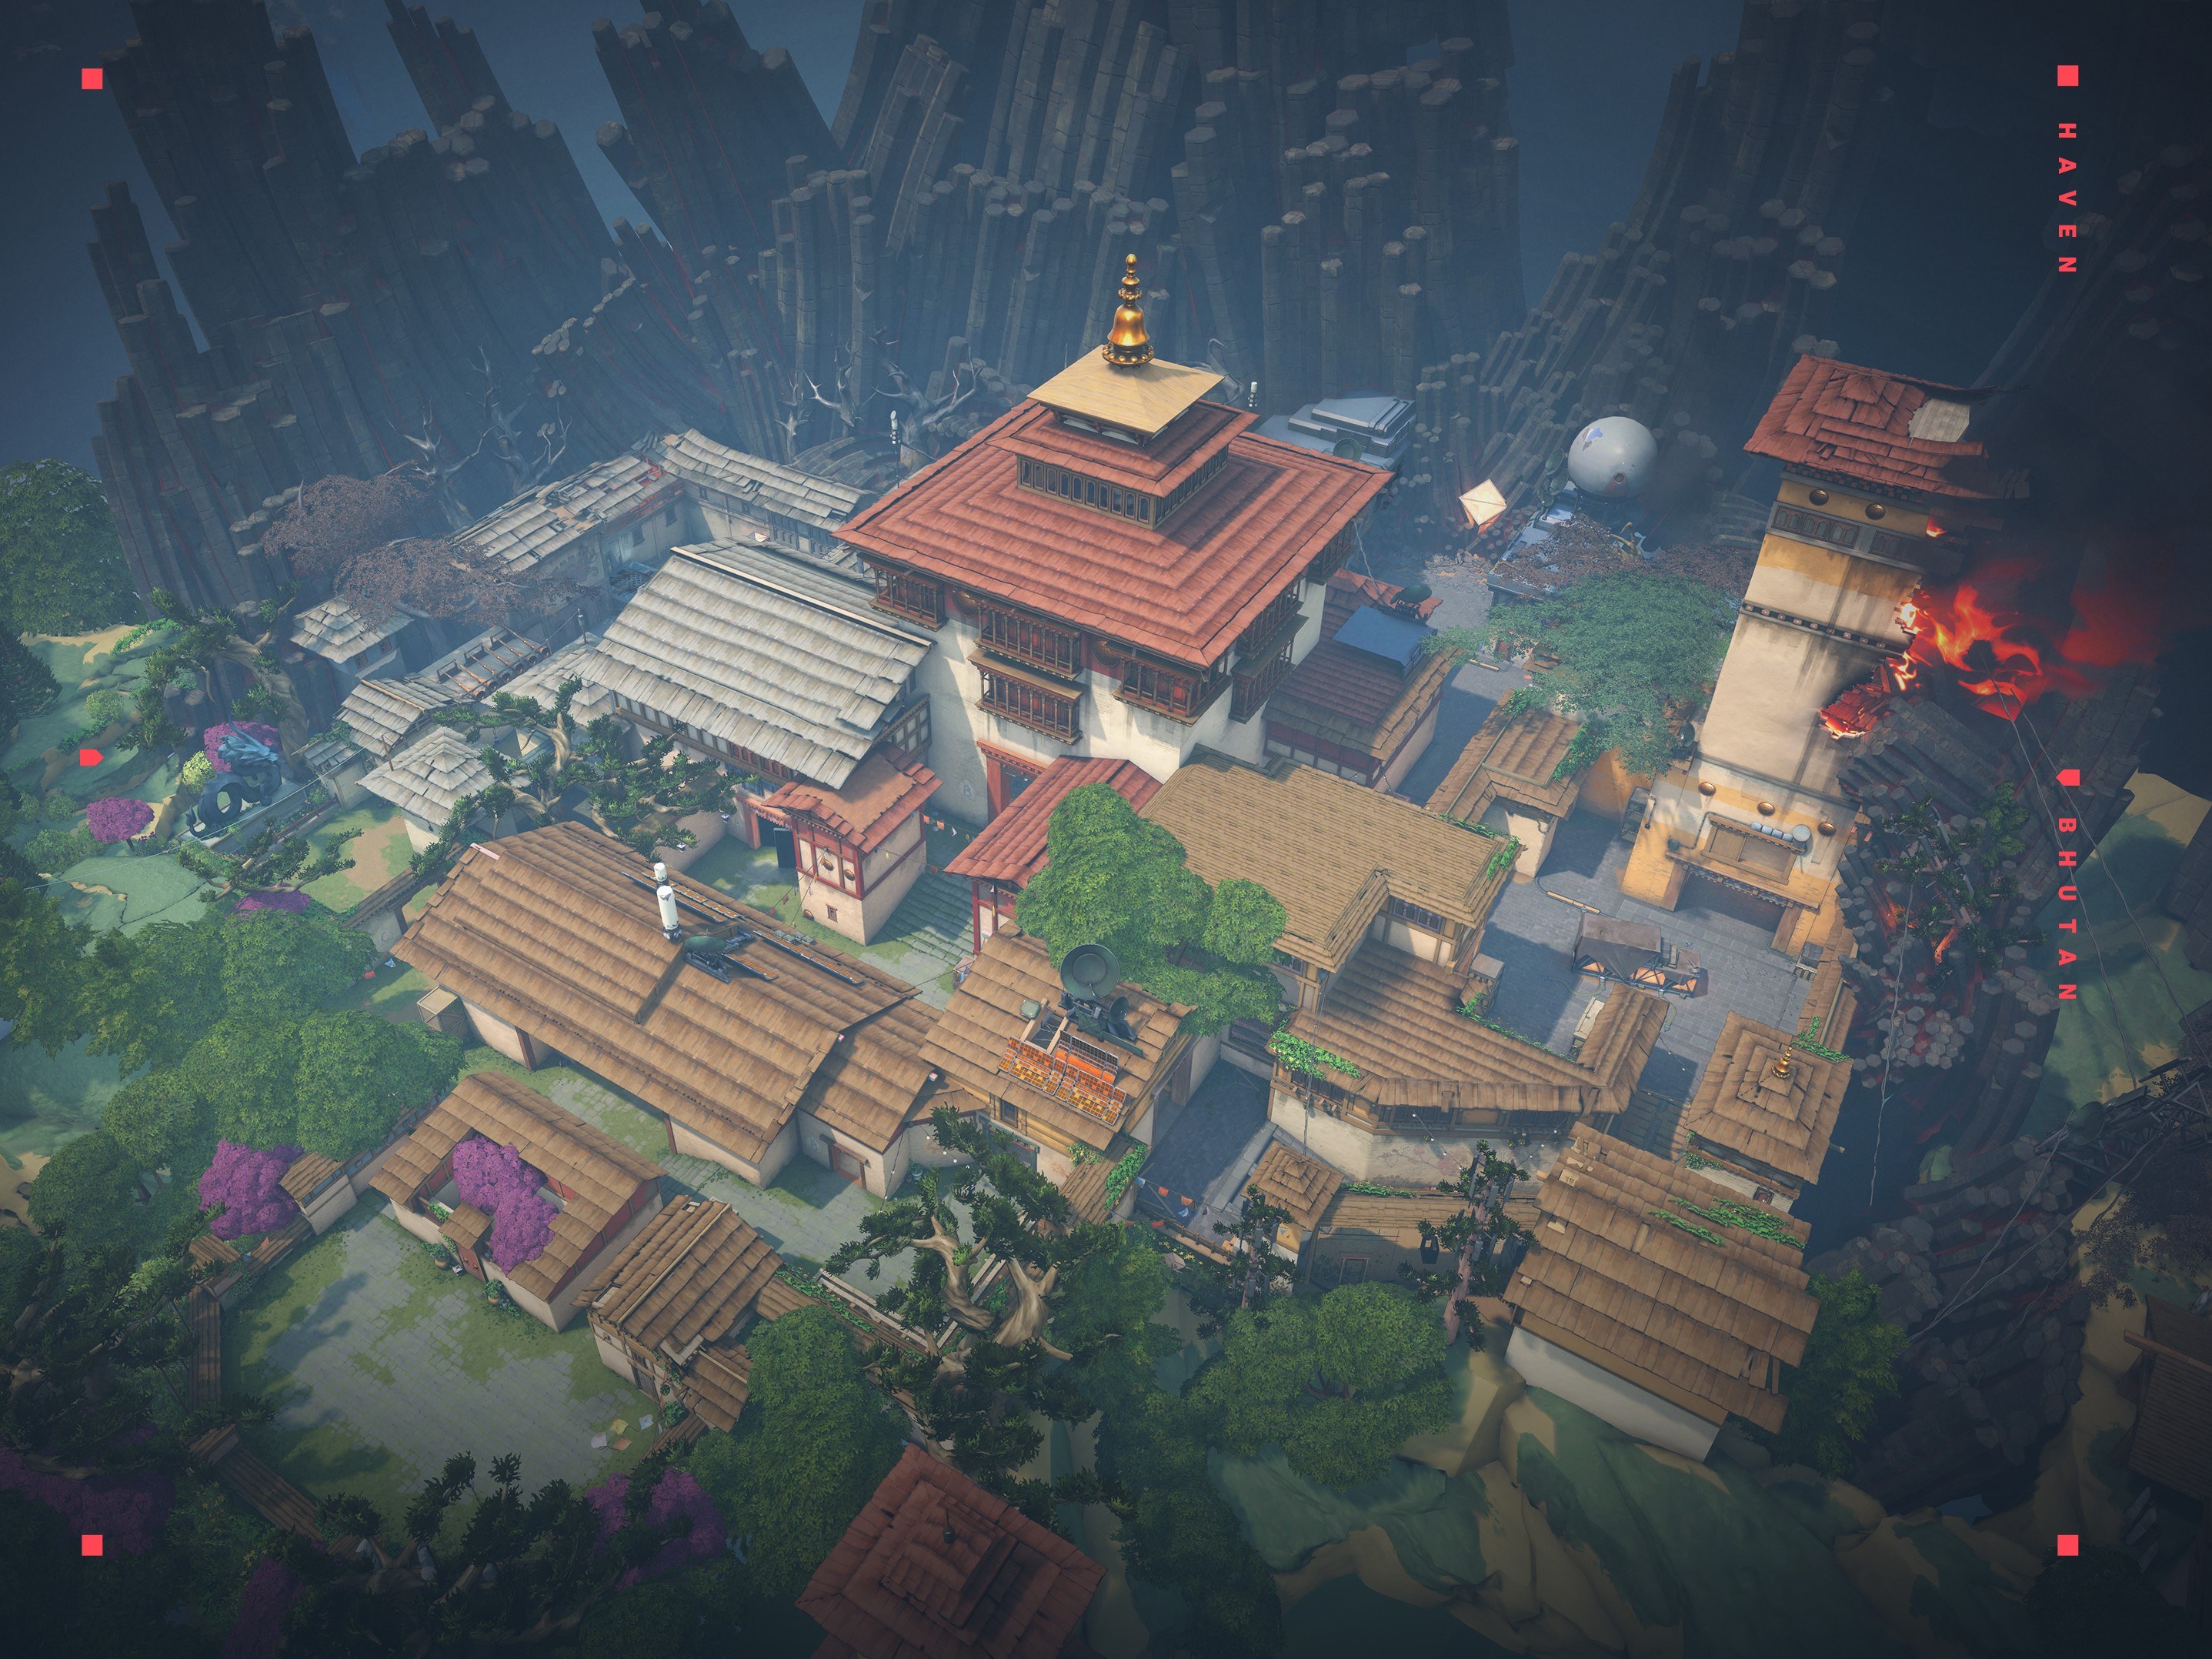
Breach is not the only good Agent for Haven, the gallery below can help you find alternatives.
Bind and Haven are the other 2 alternatives as "good" maps for Breach for similar reasons. B Windows and A cube are good defensive positions on Bind as you have the "ability" advantage due to the terrain. Haven is an all-around map where you can easily defend any entry you want to, but you should always focus on the most crowded one to abuse your potential and impact to the maximum.
That will be all for this Breach guide and we surely hope it taught you a thing or two. If it did and you want even more, make sure to go to our Valorfeed Guides Section where we have tons of other guides about anything related to our lovely Valorant.